

Wall clutter creeps in fast, especially when storage is tight and nothing seems to have a home. A bare plasterboard wall niche sometimes looks like dead space: dust collects, and objects pile up unevenly, making the whole flat feel busier.
Today’s guide will help you carve out a calm, tidy spot by shaping the wall itself. You’ll see exactly how a built-in niche replaces surface clutter, what stays, what to move, and where balance comes in. This works especially well in a compact living room when there’s no floor space for a bookshelf because a wall niche adds storage without crowding the room.
The short version: A plasterboard wall niche creates storage and display space without taking up precious floor area in small rooms. Building one directly into the wall keeps the room tidy and open, so your essentials and favorite objects feel placed, not messy.
Key takeaways
- A plasterboard wall niche is set between studs and finished flush, making it ideal for compact flats where extra shelving would crowd the room.
- Prefabricated plaster niches come in a range of sizes and finishes to fit different wall types and spaces.
- A glass shelf placed inside a niche provides sturdy, wipe-clean display for both storage and decoration.
- Most plaster niches should be fixed with both construction adhesive and screws for a safe, long-lasting fit, per Balmer’s installation guide.
- What is a plasterboard wall niche and why does it calm a small space?
- Where this works best
- How to size your niche for display and storage
- Prefabricated plaster niches: what to know before you choose
- How do you build a niche in an existing plasterboard wall?
- Styling and placement
- What about glass shelves and inserts?

What is a plasterboard wall niche and why does it calm a small space?
A plasterboard wall niche is a recessed shelf or alcove built into a hollow wall, offering display or storage without crowding the floor. By tucking objects into the wall, the room holds less surface clutter and feels quieter.
In a small apartment, every flat surface tends to fill with random bits, keys, candles, chargers, mail. A regular shelf sticks out and risks bumping into movement or blocking the open feeling. A niche, set flush inside the wall, holds the same objects in reach but not in the way.
Hollow plasterboard is standard in many newer UK flats, making it practical to carve out a niche between studs without complex structural work. Unlike sticking up another freestanding unit, building into the wall keeps traffic paths clear.
A niche changes how you see the wall itself. Instead of a blank barrier or another spot for clutter, it becomes a quiet feature. Keeping display inside a niche anchors the eye in one spot, instead of letting things sprawl across every surface.
A living room with a simple framed doorway and a single, centered niche above the sofa reads deliberate and open. Use the niche for a bowl, a stack of books, or a framed photograph, just enough to make the space feel chosen.
Where this works best
A plasterboard wall niche works best in places where furniture can’t fit, a narrow hallway, beside a bed, or above a desk, because it adds function without taking up room. The best location is one with clear wall depth and low risk of bumping.
Flat owners looking for extra storage in a rental often get told to use tall shelves or hooks, but those crowd corners and make a small room feel tighter. Instead, a wall niche in a spot where nothing can really fit, by the entry, beside the bath, unlocks storage with almost no visual weight.
Entryways with no floor space benefit most. One small plasterboard wall niche above the switch or shoe rack catches post, keys, and phones. In bedrooms, a shallow niche doubles as a bedside ledge for a book and a drink, no need for a chunky nightstand.
Avoid wall niches in places with constant movement close by, like behind a frequently opened door or above a headboard that knocks the wall. If the niche sits too high or too low, it’s hard to use or see. Pick spots where you naturally pause.
How to size your niche for display and storage
A wall niche for display in a living area usually fits best when it sits at eye level, is just deep enough for an average book or bowl, and leaves space above for clean lines. Niche sizing for storage is more forgiving, just make sure it doesn’t reach a stud or wiring.
For visual balance, a niche should be no wider than the size of the objects it will hold, with extra clear space on either side. Too wide and it feels empty; too tight and things look squeezed. The proportions shape the room’s feel as much as the contents.
Compared to open shelves, a niche with a narrower opening frames objects so they read clearer, not messier. A plain face niche, like those listed by Hodkin & Jones, often comes with edges that finish flush to the wall. Their plain face model, for example, measures about the right depth for practical use in most living rooms (see their diagrams).
In a bathroom, a niche for shampoo and soap should be sized just tall enough for your tallest bottle, but not deeper, to avoid water and dust buildup. Prefabricated shower niches tend to come in several heights, with a finish that resists splashing.
The best test: line up a bowl, a paperback, or a glass next to a section of wall and check if both object and hand fit neatly in the outline. If there’s leftover wall width, keep the niche smaller to focus on calm display.
Prefabricated plaster niches: what to know before you choose
Prefabricated plaster niches offer faster and usually neater results than trying to frame and finish from scratch, making them popular for both DIY and professional use. The biggest factors are finish style, delivery, and ease of secure installation.
The easiest way to add a wall niche is to install a premade unit sized for standard stud spacing. Prefabricated niches come with smooth edges, set depths, and often arrive ready to paint or finish. Most are made from fibrous plaster set around a lightweight core.
Unlike improv DIY jobs, a factory-made niche guarantees a straight, even opening and often includes a built-in lip for flush fit against the wall. Plain face plaster niches ship in fixed proportions, and delivery is typically under two weeks according to Halford Jarvis.
Some prefabricated models, especially those for baths, come with tile-ready surfaces or in multiple finishes, ready for painting, waterproofing, or adding shelves (see Showerwall’s range). A niche made this way stays neater for longer than a built-out MDF box.
Unlike trying to custom-frame an alcove, using a plain face niche keeps the form consistent and saves time sanding awkward corners. The whole process is easier to undo, especially if you’re renting, because repair means just filling and sanding a smaller area.

How do you build a niche in an existing plasterboard wall?
Building a plasterboard wall niche involves marking the space between studs, cutting the opening, creating a secure box, and finishing flush with the wall. The job needs basic tools, patience, and attention to what’s inside the wall before starting.
Most UK flats use lightweight plasterboard set on timber studs, which sets the constraints for any new opening. Start by using a stud finder to avoid mains wiring or waste pipes, that’s critical safety. Mark the outline where the niche will go, choosing a span that keeps inside the clear zone between studs.
Cut the plasterboard carefully with a utility knife, scoring before final slicing for cleaner edges. Build a simple frame using timber cut to fit tightly between the vertical studs. This frame holds the niche box solid and lets you screw or glue the finishing panel in place.
The common rule: plaster niches should be fastened with a combination of a strong construction adhesive on the back, plus countersunk drywall screws through pre-drilled holes, as shown in the Balmer installation guide. This keeps the niche stable against knocks and avoids future cracks.
For a smooth finish, tape and fill the joints, let the filler dry, then sand flush. A patch of primer may help stop the final paint coat from flashing or catching odd light. Compared to slapping up a box on top of the wall, this way looks neater and lasts longer.
Styling and placement
A plasterboard wall niche looks best when styled simply, using just a few strong items and neutral textures, and when placed where the eye rests naturally. Keep the palette tight and group objects by touch and finish for a calm look.
Even a deep niche looks busy if it holds too many small things. One solid item, a clay vase with three stems, a smooth wooden bowl, a line of paperback novels, has more impact than six knickknacks spread unevenly. Color matters: soft whites, pale grey, and muted browns help the niche sit back, rather than dominating the wall.
In a living space, the niche works as an anchor, pulling the focus away from wires, screens, or shoes on the floor. Use natural materials for texture. For example, a linen curtain drawn near a niche softens the wall’s line more than a plastic blind would.
Place the niche opposite the source of natural light when you can, so daylight can catch the surface gently without casting harsh shadows. Compared to filling the niche with small, shiny objects, matte or textured finishes feel warmer and calmer, especially if the room gets strong sun.
Quick calm checklist:
- Keep to two or three materials: plaster, glass, and one wood or woven element.
- Group objects by height or finish so nothing crowds.
- Stick to soft neutral shades or repeat the wall color inside the niche for depth.
- Leave a clear space between each item, more air than object.
- Place the main item off-center for a relaxed, lived-in feel.
In a shared flat, a tighter grouping, one bowl, one book, works better than a scatter of personal items. The goal is less busyness, more order, and a surface that catches and holds your attention quietly.
What about glass shelves and inserts?
Adding a glass shelf to a plasterboard wall niche increases storage and makes wiping up dust or splashes much easier. Glass is solid enough for bathroom bottles or display, but almost disappears in the wall, making the niche look light.
Plain face plaster niches, like those at Hodkin & Jones, sometimes offer glass shelves as a separate piece, these fit snugly on small brackets so nothing looks bulky (see their listing). Glass is best if water or oil will be around, such as by the kitchen or in a shower niche, because it won’t stain and cleans with a cloth.
Unlike painted or wooden shelves, glass doesn’t add thickness or shadow to the shelf line. Instead of seeing three color blocks, you get a sense of a single, connected recess that feels tidier to the eye. In a bathroom, this helps even the messiest row of bottles feel placed, not scattered.
A niche glass shelf is a simple way to divide space into two levels, one for display, one for things you use often. In a small guest bath, for example, the upper level holds a plant or ceramic bottle, and the bottom keeps soap and a flannel close but neat.
What tends to hold up with built-in wall niches
Looking across compact flats and reader spaces, the plasterboard wall niche works well whenever clear wall space is at a premium and contents are kept simple. Trades and reviewers routinely note that matte paint inside a niche lasts longer than gloss, catching fewer scuffs and hiding handprints better.
Glass shelves keep their type popularity, especially in rooms with steam or cooking splashes, while wooden inserts usually suit drier zones. Most decorators recommend echoing the wall color inside the niche for a sense of depth. Small differences in paint finish make a bigger visual impact in a niche than on a main wall.
, Mara, Loom & Glow
Common questions
How do I make a niche in a plasterboard wall?
The basic steps for making a niche in plasterboard are marking the space between studs, cutting a clean opening, framing with timber, and fixing the box flush before finishing with filler and paint. Always check for wiring or pipes before cutting. A prefabricated niche is often the quickest option for even, tidy results.
What is the best way to join new plasterboard to an existing wall when building a niche?
The best way to join new plasterboard for a niche is to butt the fresh sheet tightly to the old wall, tape the seam, apply filler, and sand flush once dry. Using a premade niche unit means the edges are factory-set, reducing risk of cracks and giving a cleaner transition line. Prime the new patch for an even final color.
What size should a shower wall niche be?
The typical shower wall niche is sized to fit common toiletries, usually deep and tall enough for bottles but not so big that items shift or pool water. Check that the niche is not directly in the spray zone. Most prefabricated shower niches have tile-ready edges and several size options for flexibility, as shown on Showerwall.co.uk.
How do you insulate a shower niche on an exterior wall?
To insulate a shower niche on an exterior wall, fit rigid foam board behind and around the recess before installing the niche box. This keeps the cold out and prevents condensation inside the wall structure. Foam should be continuous and gaps filled with sealant to avoid cold air bridges or future damp.
Explore more calm combinations inside our Shop The Look .
Shop the Look
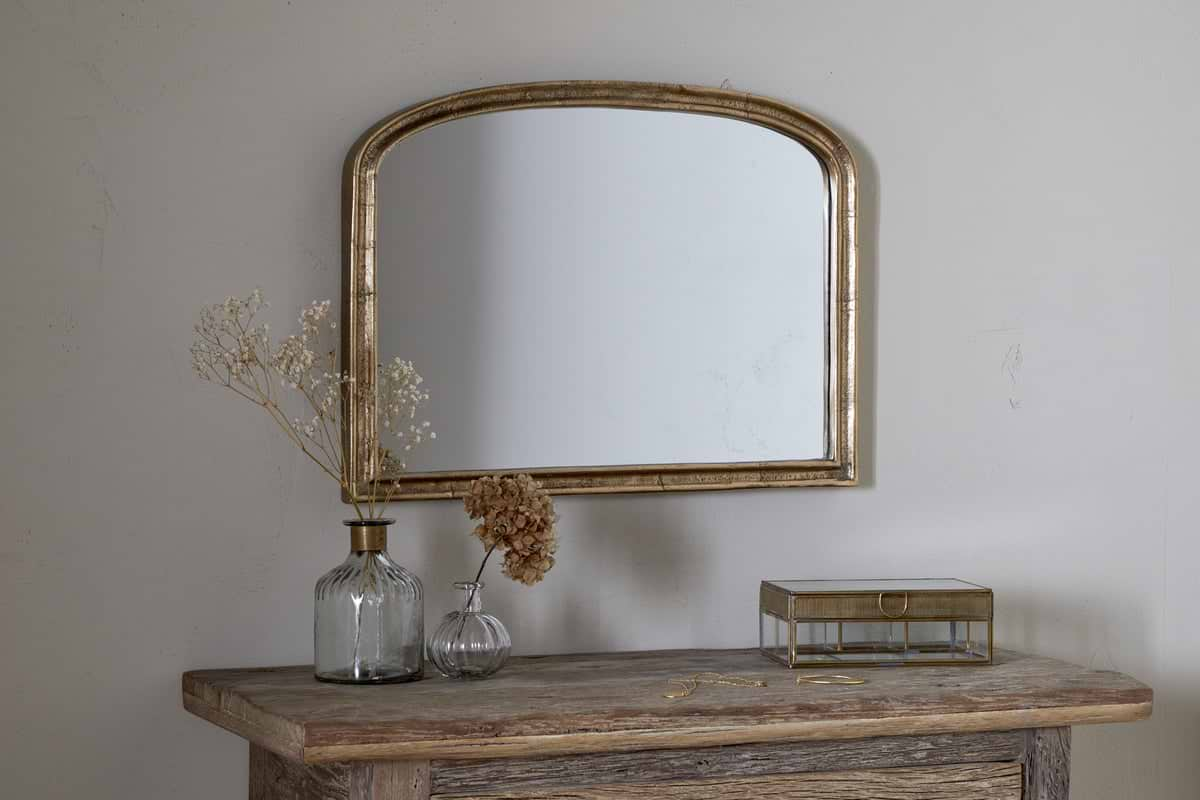
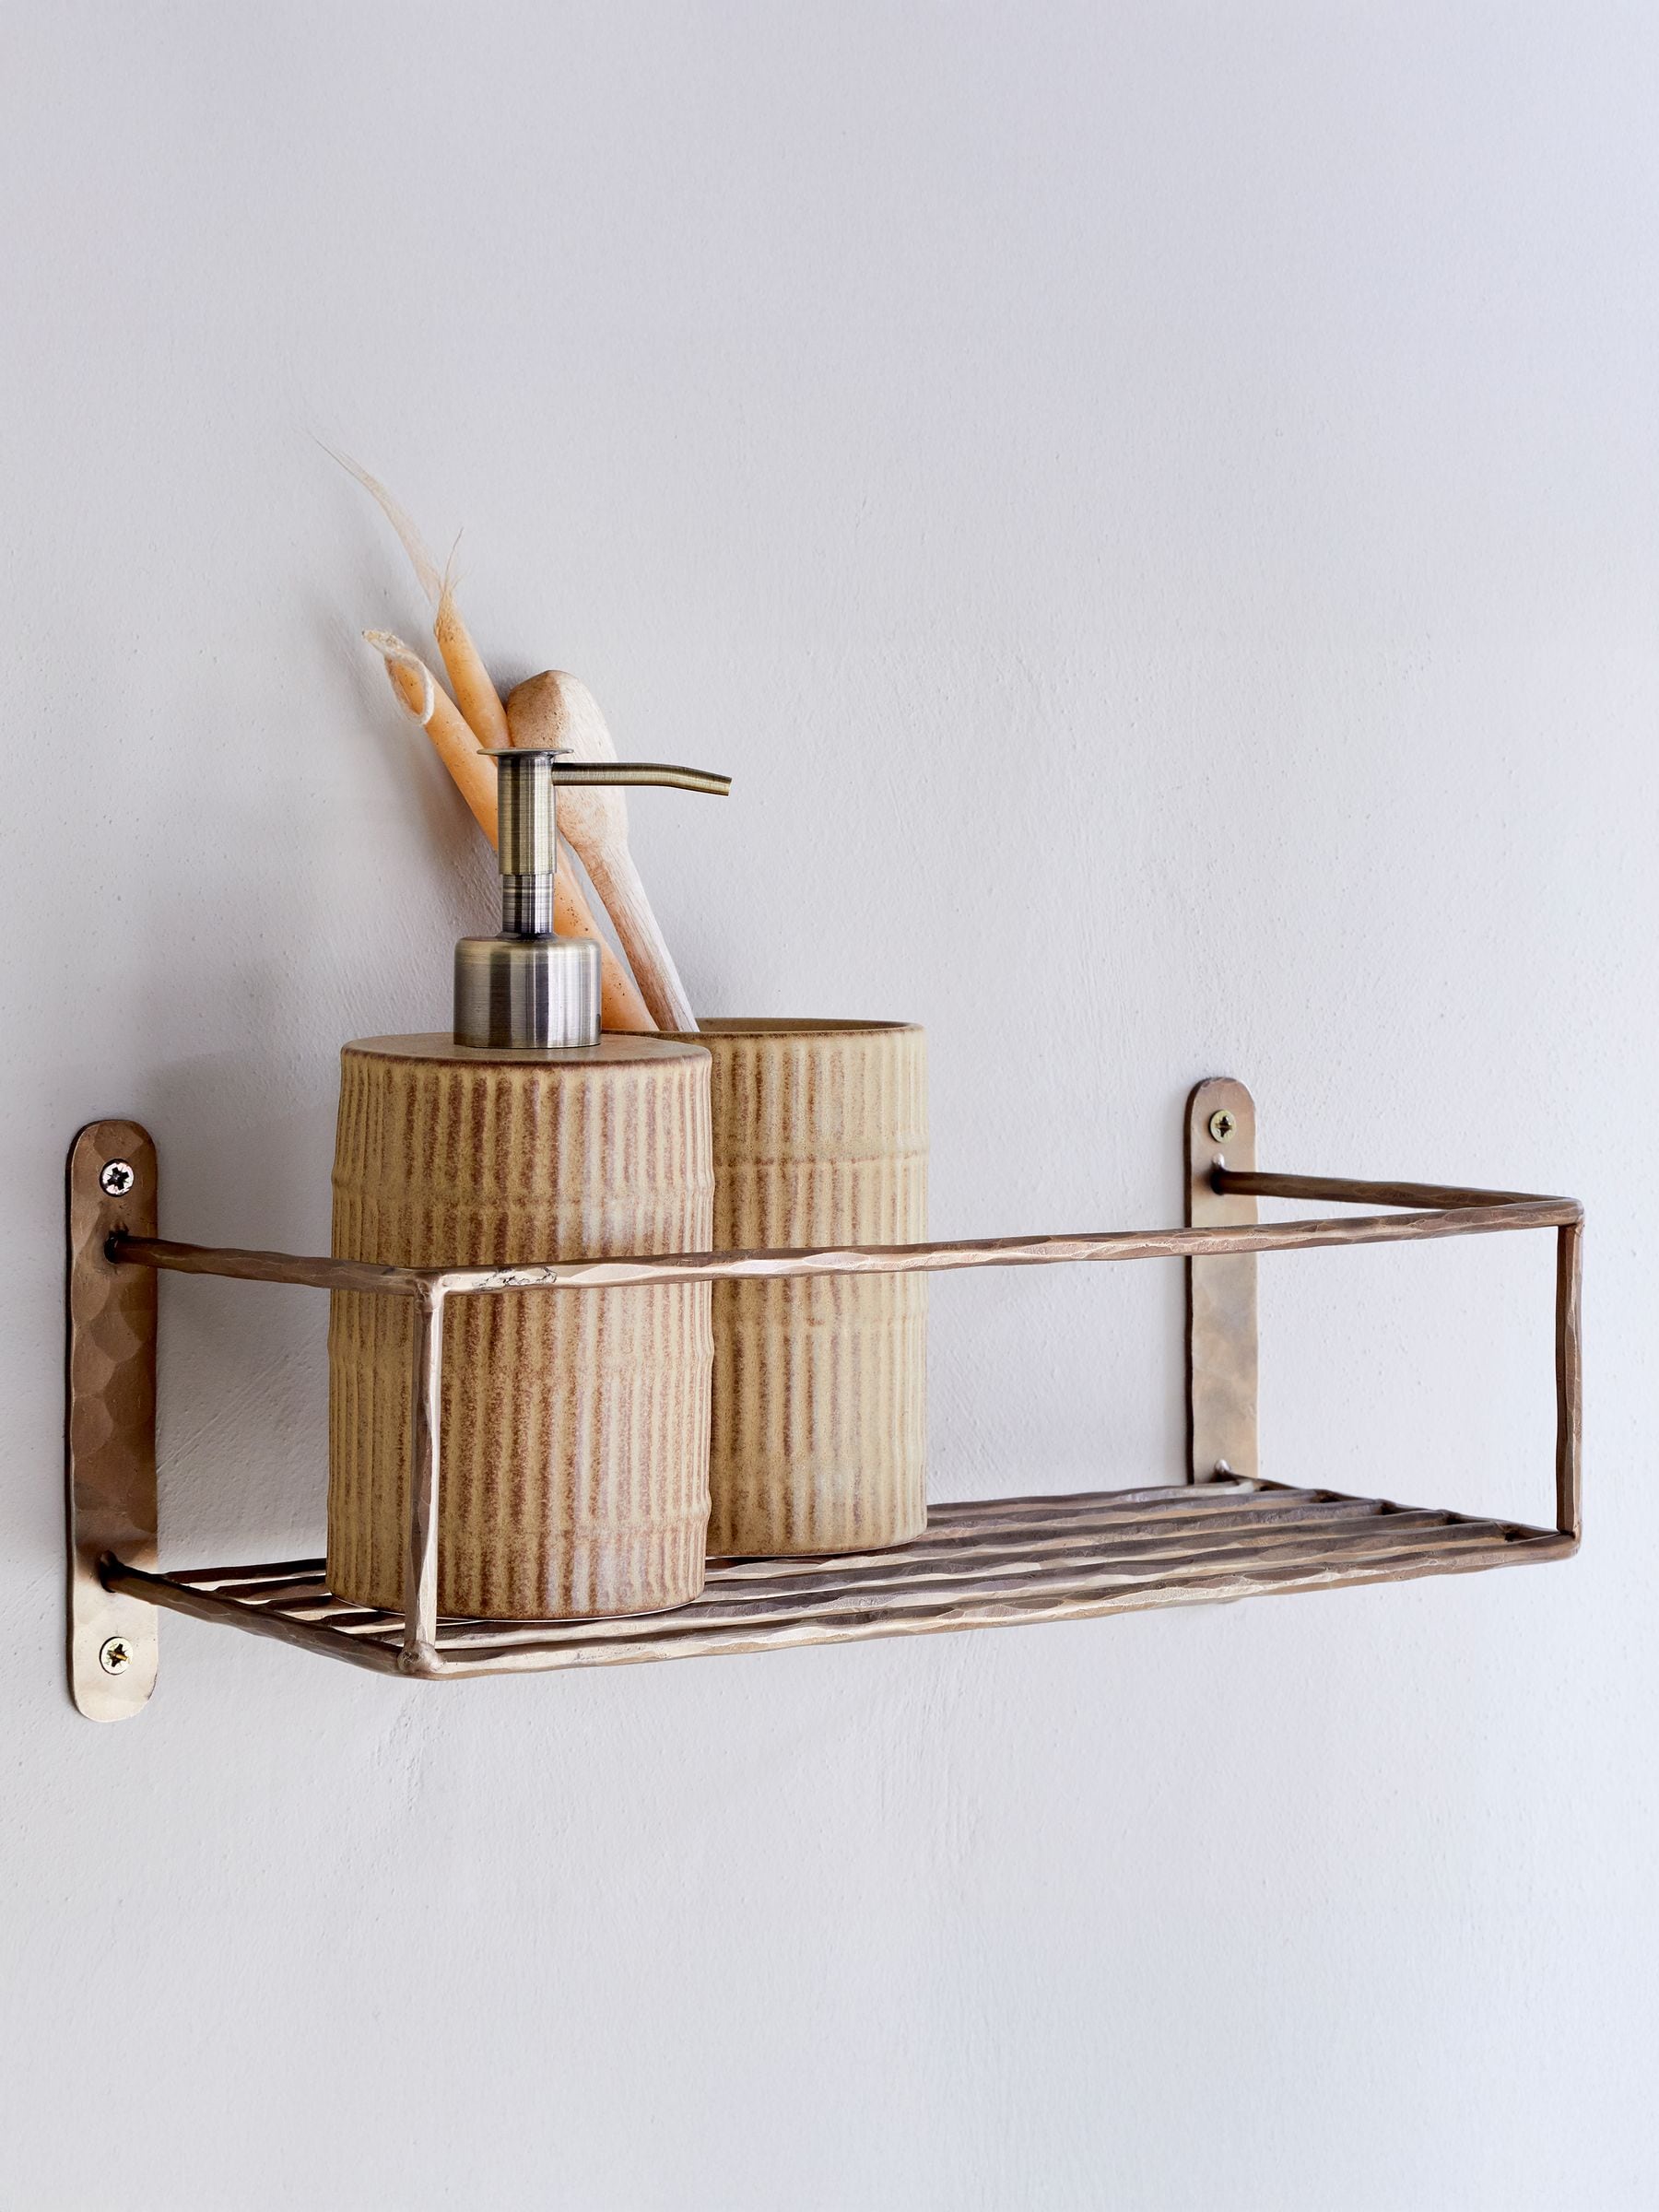
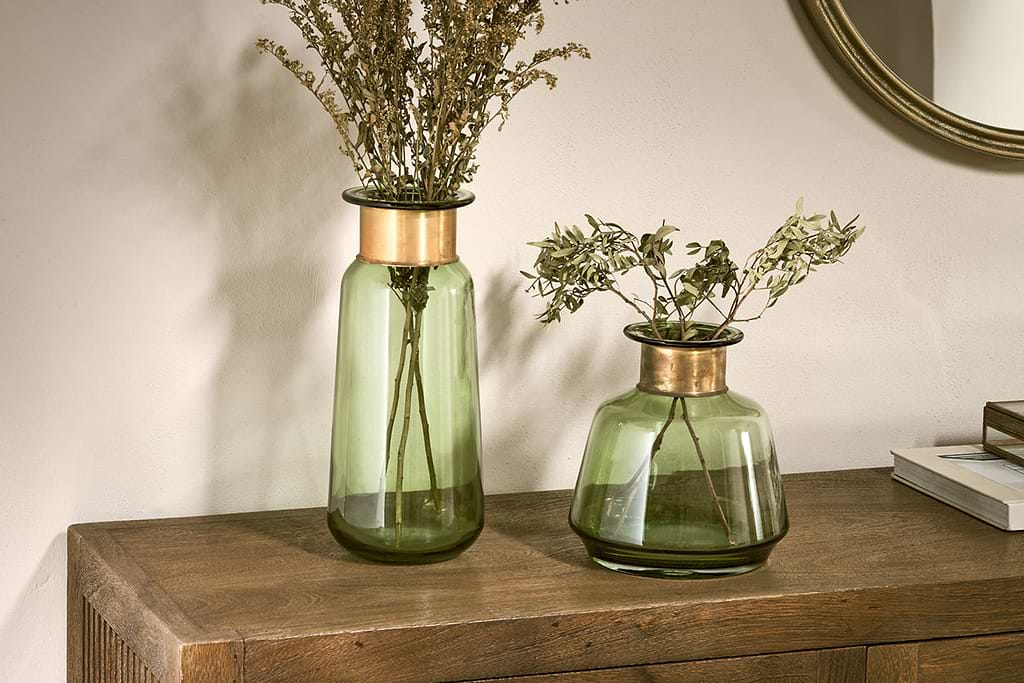
A handful of Nkuku pieces that sit well inside a small wall niche.
Some links above are affiliate links. If you buy through them we may earn a small commission at no extra cost to you. We only suggest pieces we think fit a calm, lived-in home.
Free guide
The Calm Shelf
12 styling ideas to help you compose calm, balanced shelves in natural texture homes.