

Living with tired, flat plaster walls can make a room feel bare and hard-edged, even when everything else is tidy. For many, the blank stretch along a bedroom or hallway never really settles in, no matter how much art or shelving goes up. Tongue and groove wall cladding often comes up during room refreshes, but it’s easy to get lost in the options or worry about whether it’s the right fit for your space.
This guide will show you exactly which rooms handle cladding best, what fixes common styling mistakes, and how to plan out the number of panels you’ll likely need. This works especially well in a small entryway when marks or knocks make the lower wall messy, because tongue and groove hides scuffs and adds character with almost no footprint.
The short version: Tongue and groove wall cladding turns bare walls into textured, durable surfaces, which suits real homes where knocks and wear are common. A good plan means less fuss over time and rooms that feel more put-together without a full refit.
Key takeaways
- Tongue and groove wall cladding protects high-traffic areas from bumps and wear.
- V-groove panels give cleaner lines, while bead styles suit traditional rooms.
- Paintable panels can be ordered cut to size for less waste, according to CNC Creations.
- Most cladding projects need some edge capping for a finished look.
- Planning panel layout helps avoid visible joins and awkward gaps.
- What is tongue and groove wall cladding (and why does it work better than flat plaster)?
- Where this works best
- How do you choose the right style for each room?
- How much cladding do I need for my space?
- What’s the best way to fix tongue and groove panels to different wall types?
- Styling and placement
- How do you cap and finish the edges for a built-in look?

What is tongue and groove wall cladding (and why does it work better than flat plaster)?
Tongue and groove wall cladding is a system of interlocking panels that fit together to make walls look textured, sturdy, and clean. Unlike flat plasterboard, the jointed panels hide movement, resist cracking, and shrug off knocks from daily use.
Most UK homes use some kind of wall panel product in busy zones or period rooms, though the original pressed plaster is often left plain elsewhere. Flat plasterboard can look neat the day it’s painted, but scuffs, dents, and hairline cracks start to show after a few months of living. A hallway with school bags, a kitchen wall near a door, or any spot that sees traffic shows these marks first.
Tongue and groove cladding, unlike a polished plaster wall or modern painted board, adds real shadow and depth. The design means each panel locks into the next, covering small gaps from old wall movement and allowing for boards to swell or contract without visible splits. A plain plaster finish, by contrast, quickly betrays movement or settling with fine cracks.
A classic V-groove or bead style creates a light rhythm down the wall, which breaks up large blank spaces and softens the feeling of hard verticals. If you want a wall finish plan that goes beyond a single color, this method creates interest without relying on art or shelving for warmth.
Most suppliers offer paintable tongue and groove wall cladding in MDF or timber, which can be finished to suit both period and modern homes. This makes it easier to swap from period details in one room to a streamlined look in another, without replacing boards.
Placed in living areas or bedrooms, the panel joints create shadow, so the wall doesn’t read as cold or flat like some modern wall panelling ideas. This visual texture stands up well over time, especially compared to common plasterboard.
For anyone weighing up finishes between slats on wall and solid cladding, the jointed approach stays neater in tight or damp spots like bathrooms and kitchens. The individual boards are less likely to trap dust than open slats or exposed frame systems.
Where this works best
Tongue and groove wall cladding works best in high-traffic rooms or spaces where regular touch, bumps, or muddy shoes are likely. Entryways, hallways, and bathrooms use cladding as a shield and visual anchor.
Small hallways are a prime spot for this type of panelling, especially in homes with kids, dogs, or lots of passing feet. Bedroom feature walls also settle in well here, since the material can soften a hard bed edge and mute outside noise compared to bare plaster.
Bathroom walls below a dado rail benefit too, as water drips or scuffs from bags and baskets wipe off painted MDF or timber cladding faster than painted plaster. Kitchen corners and lobbies, where storage baskets or boots gather, also suit the wipe-clean character of panels.
Unlike a polished plaster wall, which can chip or feel slick, the regular gaps in tongue and groove give grip and visual order. Instead of hanging art or shelves to fill blank spots, just cladding the lower wall brings more warmth without extra clutter. Entryways with low light, in particular, seem less harsh if the wall below hand height catches shadows and doesn’t glare.
Avoid saturating every wall in one room. Too much panelling makes things boxy, especially in narrow or low-ceiling spaces. Keep it to one or two surfaces per room for balance and to avoid the space feeling weighed down.
For a typical family kitchen, use panels wherever bags hang or stools drag, these spots show wear quickly. In bedrooms, placing a run of tongue and groove behind the headboard can mask bumps and serve as a backing for wall lights or art.
Pairing the panels with plain paint above the dado, or leaving some wall areas free, helps the texture read as purposeful rather than busy.
How do you choose the right style for each room?
Choosing the best tongue and groove panel style depends on your room’s age, light, and the shapes already in place. V-groove suits modern spaces, while beadwork styles settle into older or cottage settings.
Bedrooms and lounges benefit from wide, shallow grooves because they give a soft, even shadow that doesn’t distract. For these rooms, paintable tongue and groove panels mean you can switch colors as tastes shift and the board remains timeless under fresh coats.
Bathrooms, hallways, and busy kitchens gain more from narrow or deeper grooves, since they break up light and fade out marks from daily bumps. V-groove profiles draw the eye horizontally if run as wainscoting, which can make a short wall look longer and less boxy. Beaded profiles, on the other hand, bring period charm to older homes without reading as heavy.
Unlike the thin slats on wall often trending for minimal living rooms, tongue and groove hides more wall faults and holds up better to cleaning and knocks. If your edges are prone to chipping (as in older houses), the jointed style protects corners where kids run or bags catch.
Comparing pre-finished panels to paintable ones, the former is faster but limits your color tweaks down the track. Paintable tongue and groove wall panels can also be ordered cut to size, according to CNC Creations, which means less waste during fitting and cleaner joints.
Patterned panels like beaded board suit small nooks, backs of bookcases, or odd kitchen corners. Larger open rooms hold plain V-groove panels without feeling fussy.
| Panel Type | Best Room | Main Benefit |
|---|---|---|
| V-groove (paintable) | Living/bedroom | Crisp lines, flexible finish |
| Beaded | Bathroom/hallway | Classic detail, hides scuffs |
| Pre-finished | Rental/utility | Speed, no paint needed |
If you’re deciding between classic bead and modern V-groove, hold a sample board against your main painted surface to see how the groove plays in your light.
How much cladding do I need for my space?
You work out how many tongue and groove wall panels you need by measuring each wall, deciding your cladding height, and checking how many full boards will fit. Most projects leave one final panel to be trimmed for a snug fit.
Start by working out the total run: sum the lengths of every wall where cladding will go, keeping in mind doors, windows, and built-in furniture. For wainscoting, decide how high you want the cladding to rise, up to main switch height is common.
According to industry guidance, panel layouts work best when whole boards are used as much as possible, trimming just the final panel at the edge for the closest fit. Many panel suppliers let you order boards cut to size (see CNC Creations’ paintable range), making build-up and waste much lower than older methods.
Contrasted with masonry walls that take glue-on trims or dot and dab wall fixings, properly planned panels give a straighter, gap-free line than on-the-fly kits. Rushing this stage often leads to awkward slivers at corners or odd mismatches under windows, a visual stutter most homeowners regret.
Rooms with high skirting or deep window seats call for shorter cladding runs, while tall, bare bedrooms may suit a wider spread. Plan panel joins to fall where furniture, curtains, or skirting covers them.
Unlike a polished plaster wall that you can roll out in one pass, tongue and groove needs an actual count: line up sample panels, measure, and then add a board for margin if your walls aren’t perfectly square.
For calm, always allow for finishing (dado rail or capping), which typically adds one more run atop or below the panels.

What’s the best way to fix tongue and groove panels to different wall types?
The best fixing method for tongue and groove wall cladding depends on the wall structure: dot and dab works on solid walls, while nails or adhesive hold on timber battens or plasterboard.
For older solid brick or masonwork interior wall types, adhesive (“dot and dab”) methods are preferred, since drilling for screws can crack old masonry. Modern plasterboard allows for either glue or panel pins, using the underlying studs as the anchor.
In bathrooms or kitchens, always seal panel backs and edges before fixing, as kitchens often have higher humidity. Liquid nails or strong panel glue applied in lines stops flex and minimises squeaks. On walls with uneven plaster, using thin battens levels rough spots so the panel boards stay flush.
Unlike direct screw fixings to raw timber, dot and dab wall fixings don’t require visible screws, this keeps the cladding finish cleaner in bedrooms and living rooms. Instead of overfilling holes, a glue-based method leaves nothing to patch later.
A wall finish plan for mixed wall types in the UK often involves all three: glue for brick, pins for stud walls, battens for damp or uneven surfaces. Each trades off time for finish, brick walls resist repeat nailing, so test a small area first.
In narrow hallways, use a low-odour adhesive to save drying time, since lingering fumes are unwelcome in confined spaces.
Before starting, take a moment to check for skirting, sockets, or pipes; move or notch boards for obstacles before committing to final placement.
Styling and placement
Wall cladding looks settled when it lines up with door frames, sits below window sills, or runs at chair-back height. Simple colour and material choices keep the effect calm, rather than themed or busy.
The most successful rooms use tongue and groove wall cladding as a base rather than the main event, with simple pale paint or gentle contrast. Bedrooms do well with a soft, clay-coloured panel behind the bed, nothing too dark or glossy. Entryways prefer a more wipeable finish and medium tone, so marks won’t jump out every time the light shifts.
Overstyling is where most rooms stumble. Too many wall decorations, loud rugs, or contrasting furniture make the cladding seem like another layer rather than a foundation. Compared to open slats on wall, tongue and groove settles in better when the rest of the decor keeps to a short palette and fewer pieces.
For rooms with low light, a matt finish softens the shadows and cuts glare. Where art is hung above the panelling, keep frames simple, heavy or highly patterned art shifts the balance and makes the wall read as busy.
Quick calm checklist:
- Choose paintable MDF or timber with a subtle grain for soft shadow.
- Stop the panel height below the window sill or at traditional dado rail level.
- Keep the wall palette to two shades at most, white above, neutral or muted below.
- Position panels so joins hide behind furniture or fall between sockets.
Use tongue and groove in open-plan spaces to zone eating or entry areas without building new walls. For rental-friendly fixes, glue panels to painted MDF sheets, then lean or lightly fix to the wall, easy to remove later.
How do you cap and finish the edges for a built-in look?
A finished cladding job nearly always uses a capping piece such as a dado rail or moulding for clean top and side edges. This step turns boards from kit parts into a single, smart feature.
Run a slim dado rail along the upper edge of your cladding to top off the vertical lines and stop dust from settling where board meets wall. Most panelling suppliers suggest matching capping and skirting for one long, quiet line around the room (CNC Creations). A matching or slightly thicker skirting under the panelling holds back scuffs from shoes or chairs.
Trimming inside corners with slim moulding makes the boards read as one piece, rather than a patchwork of strips. Use mitred trims at the panel ends, especially on open sides of a bedroom feature wall or kitchen island.
Compared to leaving board edges raw, capping blocks dust and covers small gaps, so nothing looks homemade or temporary. In homes where the cladding runs only halfway up the wall, this rail becomes a visual transition and keeps the look classic, not improvised.
Edge trims and caps also help if you’re mixing tongue and groove with other features, like wood wall decor or built-in shelves.
Make sure the chosen capping matches the shadow line and scale of your current mouldings. Overly chunky rails on delicate panels, or vice versa, can break the flow and look tacked-on.
For final touches, use decorator’s caulk to fill any open joints before painting, wiping off the excess to keep lines crisp.
There’s a point in many home projects when stepping back from a nearly finished wall, something still feels off, maybe the lines run into a crooked window, or the corner reveals a patch of bare board. It’s a quiet nag, not a disaster, but it stops the room feeling truly done.
The shift comes from planning out one calm, repeating focus instead of trying to fill every gap or masking every mark. Choosing one finish, one panel style, and bringing it just high enough creates a quiet anchor that pulls together colours, trims, and the stuff of daily life.
Many homes trip up by running panels too high, or mixing too many trims and shades. The tipping point is simple: when walking past the wall, your eye should slide along a single line, not snag on mismatched joins or floating caps.
Save this idea for later.
What tends to hold up with tongue and groove wall cladding
Rooms consistently benefit from tongue and groove cladding when the panel height matches door frames or skirting, creating a settled, continuous look. In reviews and showroom displays, thin V-groove panels with soft paint finishes get chosen for their ability to hide wear without drawing too much attention. Decorators frequently agree that fitting a dado rail above the panelling keeps dust from gathering in the panel gap and finishes the wall properly, a detail often skipped on first attempts. Running the grain of the boards vertically is also a pattern that makes tight or low-light rooms read taller and gentler, even after years of daily life.
, Mara, Loom & Glow
Common questions
Do you need to glue tongue and groove cladding, or can you fix it another way?
Tongue and groove cladding can be glued, nailed, or fixed with adhesive pads depending on the underlying wall. Glue is preferred for masonry, nails or panel pins for timber battens and stud walls. Dot and dab wall fixings are useful for uneven or damp surfaces where direct fixing would damage the wall or panels.
Is wall panelling outdated in 2026, or does it depend on how it is used?
Wall panelling, including tongue and groove, is not considered outdated in 2026 when finished with care and balanced with plain surfaces. Classic V-groove and beadboard styles suit both modern interiors and period homes. The effect depends more on material, finish, and proportion than trends.
Is tongue and groove panelling expensive compared to other wall finishes?
Tongue and groove panelling typically costs more than simple paint but less than stone or drylining feature walls. The value comes from added durability and easy touch-ups without full redecoration. Paintable MDF panels offer an accessible price, especially when ordered cut to size for minimal waste.
How do you attach tongue and groove panels to a wall?
You attach tongue and groove panels using adhesive, panel pins, or a dot and dab method based on wall type. On masonry, adhesive pads or glue are best; on stud walls, nails or pins into battens hold securely. Always check for level and plan end trims for tidy results.
Explore more calm combinations inside our Shop The Look .
Shop the Look
A few Nkuku pieces that anchor a room dressed in timber panelling.
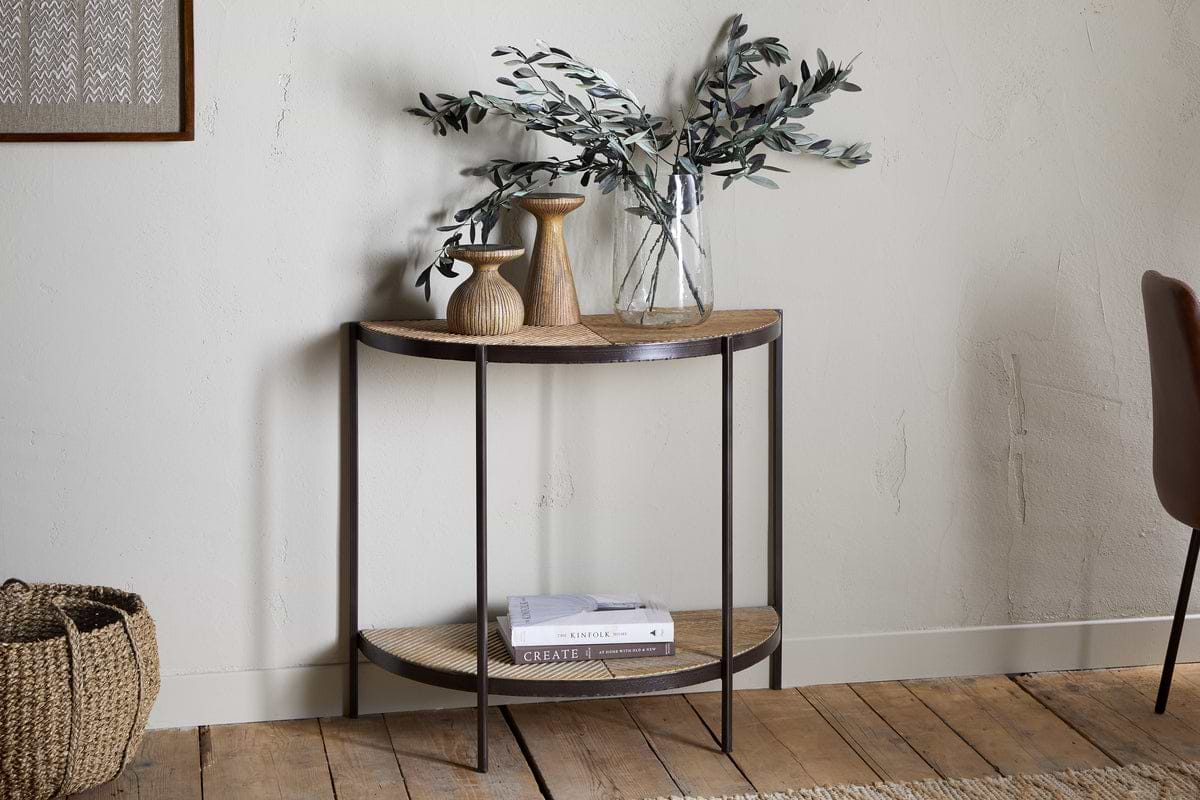
Aasha Console Table
Half-moon silhouette in mango wood; anchors entryways and narrow walls.
View at Nkuku →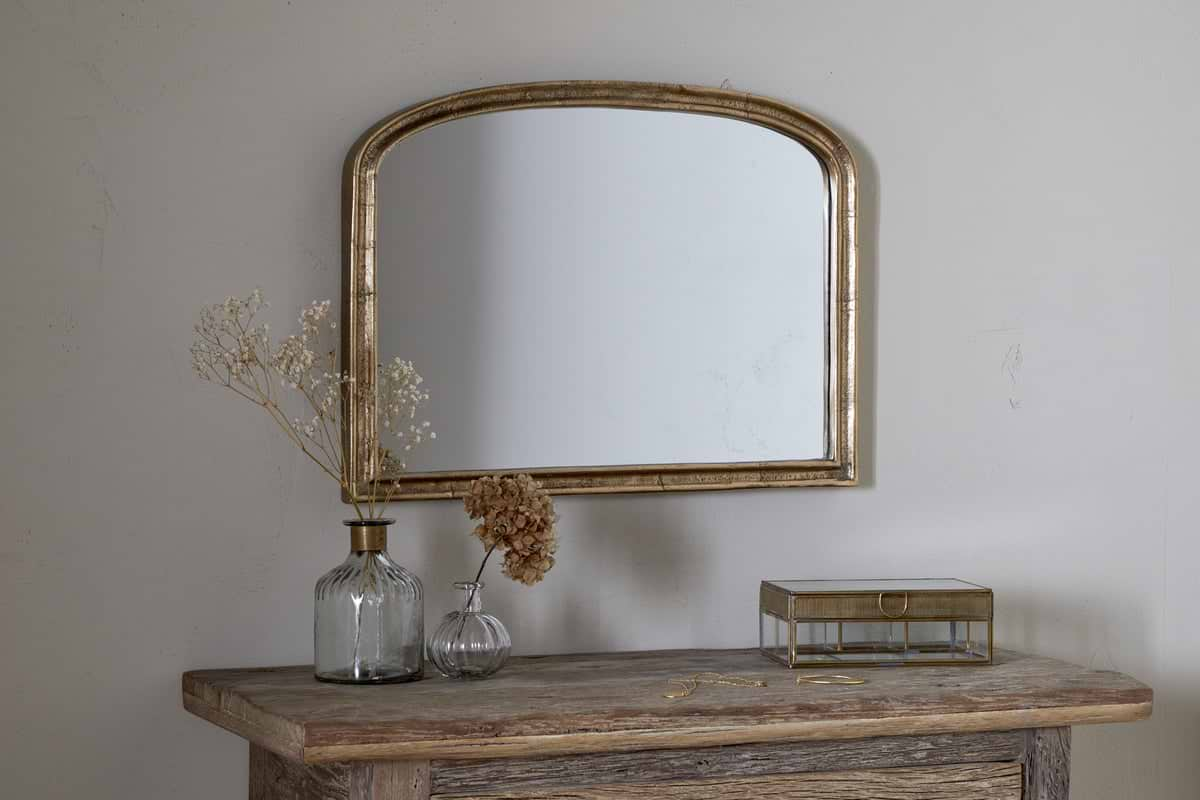
Some links above are affiliate links. If you buy through them we may earn a small commission at no extra cost to you. We only suggest pieces we think fit a calm, lived-in home.
Free guide
The Calm Shelf
12 styling ideas to help you compose calm, balanced shelves in natural texture homes.