

Plain, blank apartment walls can feel hard and cold, especially when rental rules make every nail or paint patch a small risk. Plaster relief wall art looks soft, textured, and tactile, but most tutorials call for heavy materials or permanent glue, which can damage drywall or leave marks when you move out.
There is a simpler way. By using lightweight, removable air-dry clay, you can create a handmade look with real depth and gentle texture, without risking repairs or advanced skills. This works especially well for renters or small apartments when you want a subtle focal point with no tools because the work lifts right off with no trace.
The short version: Plaster relief wall art made with air-dry clay lets you add gentle texture and neutral sculpture to your walls without damage or special training. Calm, modern shapes suit small rentals and can be moved or swapped any time.
Key takeaways
- Air-dry clay is lightweight and removable, making it the best option for non-permanent relief wall art.
- Minimalist plaster relief wall art works best when shapes are simple and colors stay neutral.
- You need only a handful of basic tools and common materials to begin a wall sculpture at home.
- Vintage plaster wall hangings are still widely collected and sold on Etsy and eBay today.
- Most relief pieces look best when placed at eye level on a clear wall, away from clutter.
- What is plaster relief wall art (and why it feels different from a print)
- Why use air-dry clay instead of real plaster?
- What do you need to start (and what can you skip)?
- How do you design a minimalist relief for calm walls?
- Step-by-step: How to make air-dry clay plaster relief wall art
- Where this works best
- Styling and placement

What is plaster relief wall art (and why it feels different from a print)
Plaster relief wall art uses raised texture and soft light to create a physical, touchable look that printed pieces cannot match. The effect is subtle but makes bare walls feel more finished and human.
In a small living room or hallway, framed prints can start to feel flat or repetitive, no matter the frame, the surface often sits behind glass and gathers fingerprints. With relief, even simple raised lines or geometric shapes catch shadows and glow in low afternoon light.
The raised texture of plaster relief gives walls a sense of touch as well as sight. Unlike a smooth canvas, the technique uses bas relief, which means forms and lines project slightly, just enough to build shadow and interest. This creates depth without bulk.
Compared to mass-market posters, handmade relief plaque pieces carry their imperfections and natural marks, which are part of their beauty. Stores such as Etsy list thousands of vintage and reproduced plaster hangings, evidence that the effect remains loved through time and trend. Try a small shape above a low bookshelf or as a headboard accent to break up too-clean lines.
Why use air-dry clay instead of real plaster?
Air-dry clay is clean, lightweight, and stays put with easy adhesives, making it the better choice for DIY wall relief in rentals or shared spaces. Real plaster is heavy and inflexible.
For anyone in a flat or rental, regular plaster comes with trouble: it is messy, sets fast, and cannot be moved once dry. Air-dry clay firms up in air, requires no mixing, and washes off hands easily with water. It sticks well to temporary backing boards with removable tape, so the wall is always safe.
Many of the Pinterest boards for minimalist plaster relief wall art show neutral shapes and soft curves. With air-dry clay, these effects are easier to achieve, as the material is soft for longer and does not slump off the board.
Unlike gypsum or cement-based plasters, air-dry clay can be trimmed or reshaped even after partially drying. If there is a mistake, you can mist and patch, rather than needing to start again. It’s often lighter, so even a large piece can use only basic sticky tabs or removable hooks to mount, reducing the risk of wall damage. Hang a finished shape in a bathroom, a narrow entry, or any spot where regular artwork would feel out of place for a new layer of calm.
What do you need to start (and what can you skip)?
You only need air-dry clay, a flat board, a rolling pin, and something to shape texture, most kitchens already have enough to start. Specialty tools help detail but are optional.
Basic materials keep the experience simple and affordable. Pick soft air-dry clay, a plain firm backing (such as a panel or thick card), and a smooth bottle or rolling pin to create an even slab. You can add detail with the edge of a butterknife or a plastic spoon. Many creators use cotton buds, wooden sticks, or just fingertips for shaping.
For clean application, some gentle painter’s tape and sticky tabs (the kind meant for posters or seasonal décor) anchor your work safely to rental walls. Extra tools such as loop tools or texturing mats can add subtle marks. Acrylic paint brings color, often a neutral white, ivory, or sand.
Compared to traditional plaster casting, this approach skips mess and hazards. Clean-up is just water and a damp cloth, with no fine powder or quick setting times. Place your board on a plastic sheet or old tea towel to keep surfaces clean and make moving easier.
| Material | Essential | Optional |
|---|---|---|
| Air-dry clay | Yes | No |
| Backing board (firm card/wood) | Yes | No |
| Rolling pin/bottle | Yes | No |
| Clay or kitchen tools (spoon, knife) | No | Yes |
| Sealer (matte spray/varnish) | No | Yes |
Start with what you have, and add more only if you want to explore texture or color further. This keeps the project low-stress and budget-friendly. A calm clay slab styled simply works with almost any wall color.
How do you design a minimalist relief for calm walls?
Minimalist relief art keeps shapes broad and colors subdued so the surface draws light but never clutters the wall. Gentle texture works best away from crowded gallery walls.
A calm living area or bedroom benefits from soft arcs, ridges, or circles in light clay tones. These forms scatter light gently and add physical detail without shouting for attention. Most minimalist pieces follow the rule of two textures: one overall background, one raised or pressed detail.
The effect of a single, smooth relief feels grounded where too many frames look jumbled. Neutral shapes let the wall paint peek through if the art sits on a light panel or the clay is left unsealed and matte. Unlike clustered art, one relief shape becomes a clear pause for the eye.
Geometric, modern lines avoid fuss. Try long sweeping curves, soft-edged rectangles, or one large circle. A good test: the piece adds interest even with no color at all, just form and shadow. Place one on a short wall or above a small shelf for the cleanest impact.

Step-by-step: How to make air-dry clay plaster relief wall art
The process is simple: prep your board, spread softened air-dry clay, shape your design, then let it set before hanging with safe adhesive. No kiln or mixing is needed.
Set up a clean, flat table with a protective cloth. Roll clay with steady, gentle pressure for a slab about as thick as a coin, this helps it dry flat and strong. Press or carve your shapes in now: broad ridges, pressed lines, or light texture from a linen cloth are all easy starts.
Carefully move the finished piece to a safe, dry spot. Most brands of air-dry clay firm up in under two days, but check directions. Letting the finished form sit on its backing while drying keeps it from warping. If you notice small cracks forming, mist lightly with water and smooth with a fingertip.
Once dry, decide if you want to paint, seal, or leave it natural. For most calm wall art, a clear matte sealer (optional) deepens shadows but leaves the finish soft. Use poster adhesive strips or gentle removable hooks to hang. Try different textures and shapes in a compact zone first (even just above a desk) for low commitment.
Where this works best
Air-dry clay relief art sits well in spaces with blank walls, mixed textures, or limited light, where hard frames or prints would look out of place. Small entries and bedrooms benefit most from this subtle detail.
In bedrooms, entryways, or apartments with few uninterrupted surfaces, relief art stands out where regular wall décor would crowd. It softens long, narrow halls and corners that catch the eye but rarely feel finished. Low light or north-facing rooms benefit from the shadow play that textured clay brings, adding depth without the need for color.
The process fits both busy homes and quiet, single-occupant flats. Handmade clay slabs feel warm without adding visual heaviness, unlike mirrors, metal pieces, or photo clusters, which can increase glare and reflect clutter. A calm wall zone, opposite a window, beside a sideboard, or hung as a single focal piece, lets the tactile surface shine.
Avoid putting plaster relief wall art directly above radiators or under dripping windows, as the material can soften or warp if kept damp too long. For best results, stick to dry, steady spots with steady light and little risk of accidental bumps. Try one near a soft reading chair, or as a single accent along a blank stretch of hallway where framed art adds too much line.
Styling and placement
Relief looks best on a clean wall, hung at eye level, and paired with solids, avoid mixing too many shapes or colors nearby. Leave visual space around the piece so the texture stands out.
Minimal relief art tells its story through shadow. In most cases, place the panel at about standing eye level and leave at least one wall width of empty space on either side when possible. Hanging a neutral clay work near pale fabric, like linen drapes or a cotton ottoman, brings out the natural tone in both materials.
Direct sunlight can make raised texture pop, but in small rentals or low-light homes, even soft lamp light will highlight the ridges and grooves of the surface. A bare shelf reads colder than one anchored by a single relief piece.
Grouping with other calm objects (such as one stone bowl or a cotton throw folded nearby) keeps the look collected but not cluttered. Instead of stacking with printed art, use the relief shape as the anchor and let other pieces echo its color or texture for quiet repetition. Try hanging clay pieces with removable poster tape for a secure but temporary hold, perfect for renters.
Quick calm checklist:
- Choose soft air-dry clay in neutral white, ivory, or sand.
- Keep the design to one or two broad shapes, avoid detailed figures or busy lines.
- Hang at eye level with open wall space on all sides.
- Use gentle adhesives or poster tabs for easy removal in a rental.
- Anchor with fabric or stone decor nearby; avoid mixing with glossy frames.
Let a single minimal relief stand alone, or pair two calm pieces with a gap between, for best effect in a small apartment or rental kitchen nook.
The shift happens the first time you notice a blank rental wall feels colder with rows of prints, or a room that felt calm on paper doesn’t quite sit right once styled. The problem usually shows up as visual noise, too many thin frames or colors, not enough texture or pause for the eye. It matters most in small spaces and rentals where every detail has a purpose, and nothing feels anchored until you solve for touch as well as sight.
Choosing a single handmade relief as the focal point lets the rest of the room calm down around it, making the space feel more personal and less temporary.
Save this idea for later.
What tends to hold up with DIY clay relief wall art
Across many apartments and shared homes, the relief pieces that stand the test of time share two traits: soft forms and surfaces that can handle small accidents. Matte clay stands up well to light dusting and gentle touch, which is why decorators so often recommend it over glossy, painted finishes for everyday living areas. Reviewers on craft and home sites frequently say that neutral, undetailed shapes are easier to move and restyle as needs change.
One quiet pattern: subtle relief art tends to get noticed more, not less, the longer it stays. The tactile surface draws a small pause when entering or leaving a space, especially if light changes through the day. Projects that skip precision for a softly textured, handmade look, rather than striving for perfection, fit right into calm, rental-friendly homes.
, Mara, Loom & Glow
Common questions
How do you use plaster to make wall art?
Plaster is mixed with water, spread onto a flat mold or shaped freehand, and allowed to dry before mounting as wall art. Many artists carve or press designs into the plaster while it is damp for a bas relief effect. Most modern DIYers use air-dry clay or casting plaster, depending on the desired weight and permanence.
How long does a plaster sculpture last?
A properly dried plaster sculpture can last for decades if kept in dry, stable conditions. Direct moisture or impact can cause chipping or softening. Most indoor wall art sculptures made with plaster or air-dry clay stay strong as long as they are not exposed to water or heavy knocks.
What is the plaster relief casting technique?
The plaster relief casting technique involves pouring plaster into a mold or onto a form, working from the front or back to create raised and recessed areas. Once set, the form is released and sometimes sealed. This method is used for both ornate Victorian plaques and modern geometric shapes, with results depending on the mold and surface used.
What is the basic relief art technique?
The basic relief art technique builds a raised image or pattern on a solid background, using materials like clay or plaster for texture. The design stands out from the base, but does not completely detach from it. Relief can be shallow (bas relief) or much deeper, depending on taste and material.
Explore more calm combinations inside our Shop The Look .
Shop the Look
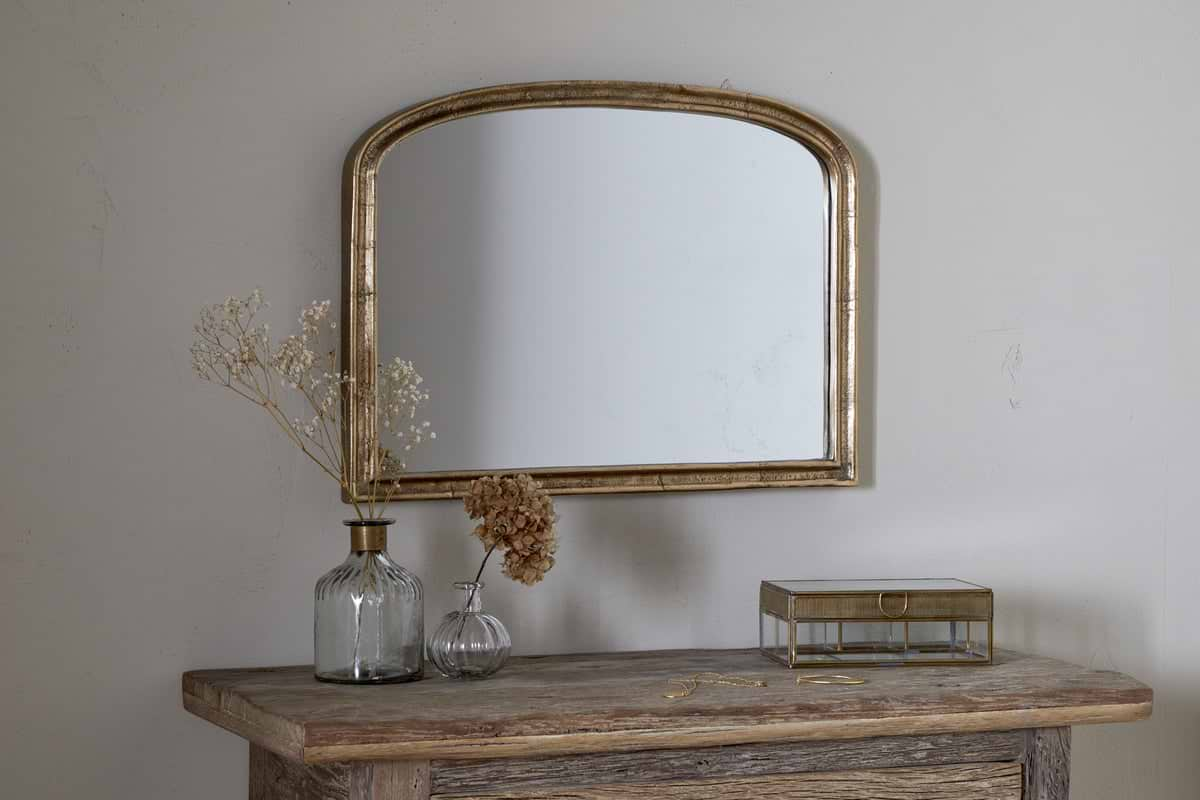
A few understated pieces that sit quietly alongside a sculptural wall feature.
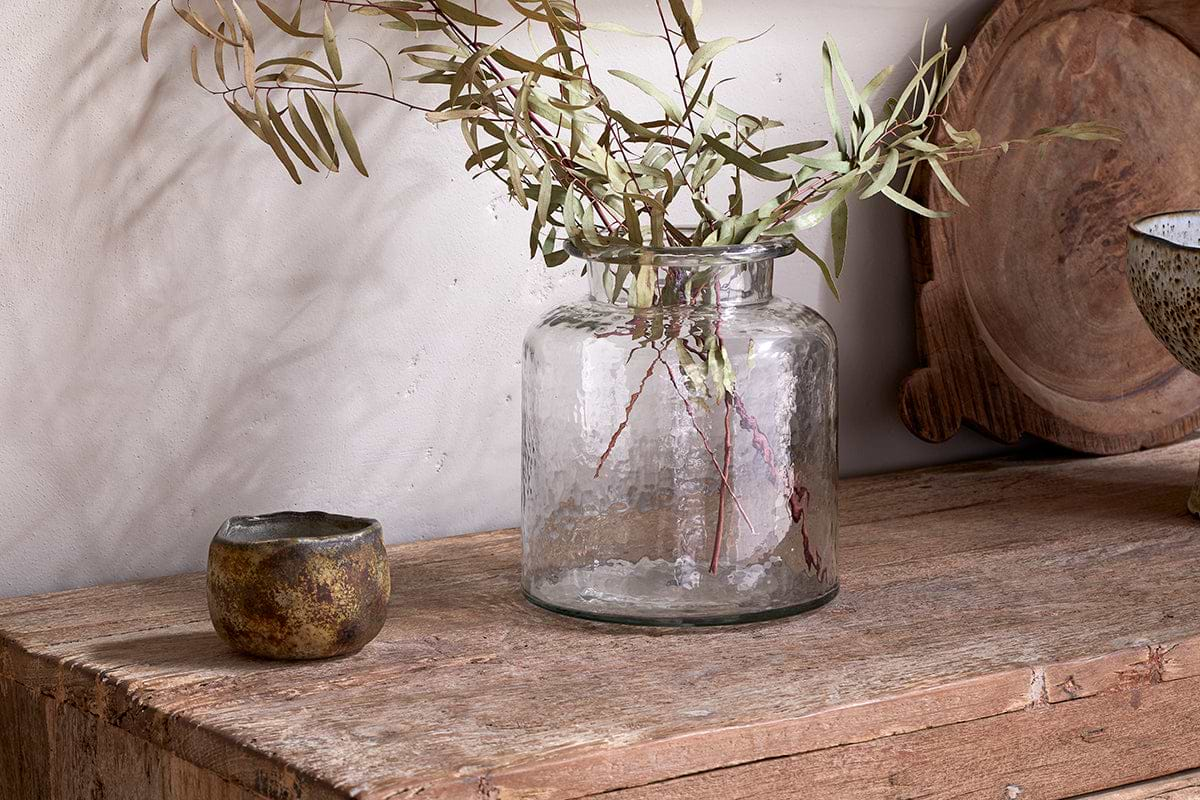
Akra Recycled Glass Vase
Clear cylindrical glass, pairs with stems or sits empty as a quiet accent.
View at Nkuku →Some links above are affiliate links. If you buy through them we may earn a small commission at no extra cost to you. We only suggest pieces we think fit a calm, lived-in home.
Free guide
The Calm Leaf
12 quiet ways to bring dried botanicals, stems, and natural textures into calm spaces.