Clay feels like the opposite of hurry. It’s cool in your hands, slow to change, and quietly responsive to every small movement. When you press, pinch, or smooth it, your mind narrows down to the present moment almost without effort. You’re not scrolling, you’re not switching tasks, you’re just shaping.
You don’t need a studio, special tools, or advanced skills to let clay soften your days. A small table, a block of air-dry clay, and a little patience are enough to create pieces that feel both grounding and beautiful: a soft-edged trinket dish, a gentle candle holder, a set of textured tiles for shelves. Each piece carries your touch and becomes a calm anchor in your home.
This guide walks you through simple clay projects that anyone can make, shows you how to avoid the most common mistakes, and helps you style your pieces so they blend into a warm, minimal interior instead of looking like random “crafts”.
Why Clay Belongs in a Calm Home
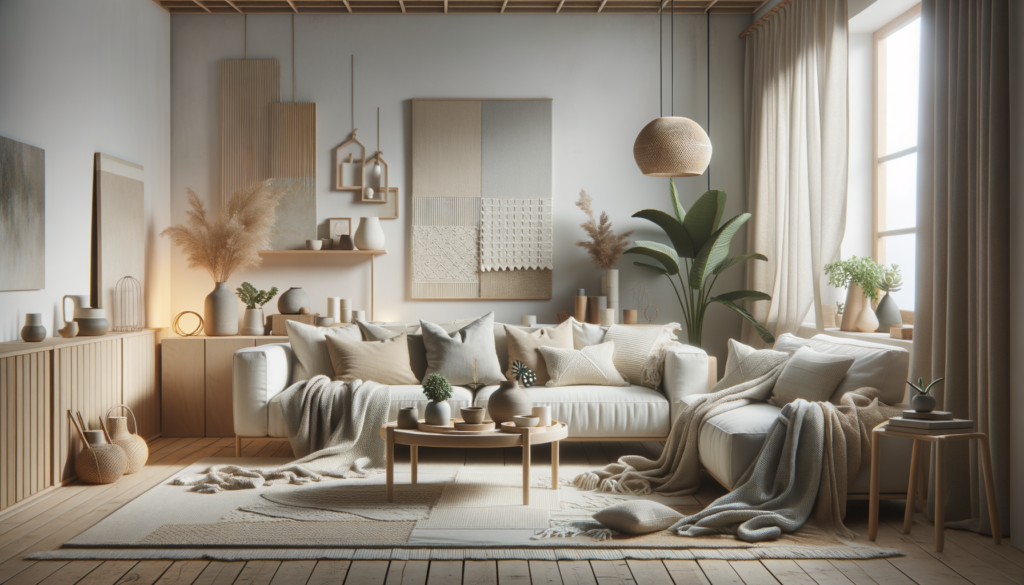
In a home that aims for calm, everything competes with screens, notifications, and constant noise. Clay does the opposite: it slows you down. The material itself invites you to move at its pace. You can’t rush drying times, you can’t force perfect lines, and you can’t undo a fingerprint once you’ve made it. That slowness is part of its charm.
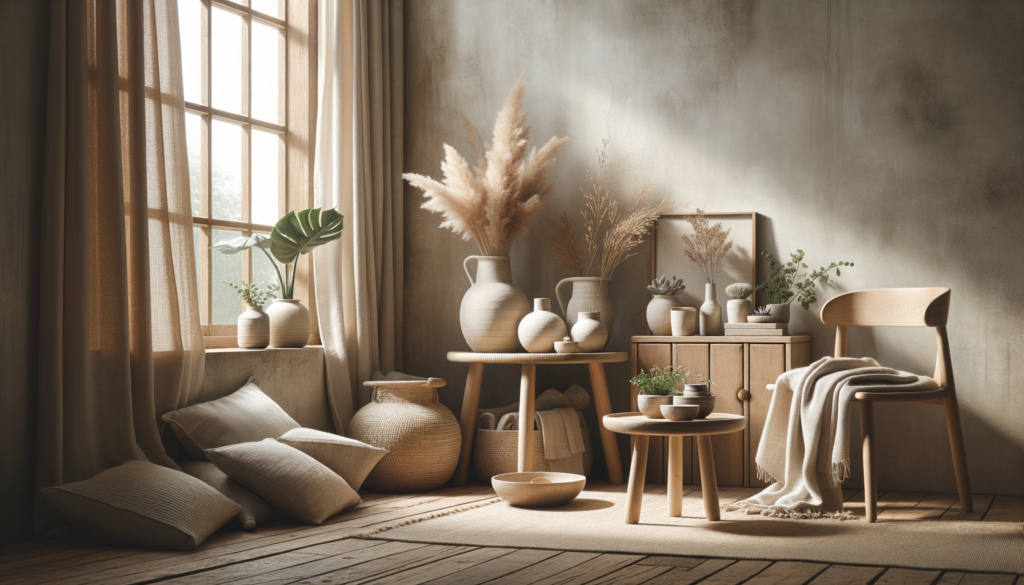
Clay is also visually aligned with a soft, minimal aesthetic. Its matte surface absorbs light instead of reflecting it harshly. Its edges can be rounded, organic, and slightly irregular. When you place a clay object next to linen, wood, or jute, they immediately look related: natural, tactile, quiet.
On a practical level, clay projects are accessible even if you live in a small apartment or have limited time. Air-dry clay doesn’t need a kiln or oven. You can work on a single project over a few evenings, letting each step dry while life continues around it. The process becomes a ritual: you come back, touch, adjust, sand, and slowly see the piece become real.
Most importantly, clay reminds you that imperfect things can still be beautiful. A little wobble in the rim, a thumbprint left in a corner, a subtle asymmetry in shape — these are not flaws to hide. They are proof that something was made slowly, by hand, in your actual life.
Setting Up a Simple Clay Corner at Home
Before you start, setting up a small, intentional workspace makes the whole experience feel calm instead of chaotic. You don’t need a dedicated room — a cleared piece of table is enough — but it should feel tidy and ready when you sit down.
Materials and tools:
- Air-dry clay in white or light grey
- A small rolling pin or glass bottle
- A butter knife or clay knife
- A soft sponge or cloth
- A toothpick or wooden skewer
- Fine sandpaper (for finishing when dry)
- A bowl of water (for smoothing, not soaking)
Surface protection:
Cover your table with baking paper, a silicone mat, or a smooth cutting board. This keeps the clay clean and makes it easier to lift finished pieces without distorting them.
Lighting and atmosphere:
If possible, place your clay corner near a source of soft, warm light. You don’t need perfection, but a comfortable chair and a warm lamp signal to your body that this is not a “work task”; it’s a slow, creative moment for you.
Drying space:
Choose a shelf or tray where pieces can dry undisturbed. Keep them out of direct harsh sunlight (which can cause cracking) and away from high-traffic areas.
When your tools and space are ready, you remove friction. You sit down, touch the clay, and start — instead of spending half an hour searching for things and feeling already stressed before the first project.
Project 1: A Soft-Edged Minimal Trinket Dish
A small trinket dish is one of the easiest ways to begin. It’s quick, practical, and instantly usable on a bedside table, dresser, or console. The goal is not a perfect circle, but a soft, organic shape that feels like it belongs in a calm bedroom or hallway.
Step 1 – Shape the base
Take a ball of clay about the size of a walnut. Roll it between your hands until smooth, then press it down gently on your work surface to form a flat disc. Aim for an even thickness of about 4–6 mm: too thin and it may crack, too thick and it loses its delicate feel.
Step 2 – Form the edges
Use your thumbs to pinch the edge of the disc upward, working slowly around the full circle. Don’t chase perfection. If one side rises a little higher or curves more softly, let it. Those small variations make the dish look human, not factory-made.
Step 3 – Smooth and refine
Dip a fingertip into water and run it gently along the rim and inside of the dish. You’re not trying to erase every mark, just to soften sharp lines and obvious cracks. If you want a more tactile look, you can leave subtle finger impressions — they catch the light beautifully later.
Step 4 – Dry and finish
Place the dish on a flat surface and let it dry completely according to the clay instructions. Once it’s fully dry, lightly sand the bottom and rim with fine sandpaper. You can leave it unpainted for a raw, stone-like look, or add a wash of warm white, sand, or pale stone paint in a matte finish.
By the time this little dish is ready, hai already learned how the clay responds to pressure, how it dries, and how small movements change the final form. You’ve also created a piece you’ll use every day.
Styling Your Trinket Dish with Light and Texture
A clay dish on its own is simple. Where it really comes alive is in how you place it. The way light hits the edges, the textures surrounding it, and the empty space you leave around it all decide whether it feels like a thoughtful detail or visual clutter.
Start by choosing a quiet surface. A crowded bedside table or console with too many objects will swallow your dish. Remove what you don’t need, then reintroduce only a few elements: perhaps a book, a small vase, and the clay dish. The goal is for each item to have room to breathe.
Light is crucial. Clay responds beautifully to warm, diffused light — the kind that softens edges instead of flattening them. A harsh overhead light will make your dish feel flat and anonymous. A warm lamp will make it feel sculptural and soft.
Featured Piece — Dia Jute Lampshade – Natural
This is where a carefully chosen light source can transform both your clay pieces and the entire corner of the room. A lampshade like the Dia Jute Lampshade – Natural works particularly well because:
- its woven jute surface diffuses light gently, creating a warm, calm glow instead of sharp shadows
- the natural fiber echoes the organic feel of clay, linen, and wood, tying textures together visually
- its understated design doesn’t compete with your handmade dish, but quietly frames it
Place your trinket dish within the circle of light cast by the lamp — on a bedside table, dresser, or entry console. In the evening, the gentle glow over the soft-edged clay makes the whole scene feel intentionally calm, not just “decorated”.
Project 2: A Gentle Clay Candle Holder
Once you’re comfortable forming basic shapes, a candle holder is a natural next step. It’s slightly more structural but still accessible and deeply connected to the idea of slow evenings and soft light.
Step 1 – Decide the candle type
Choose whether you’ll use a tea light, a small pillar candle, or a slender taper candle. This will determine the shape and depth of the holder. For beginners, a tea light or small pillar candle is often easiest.
Step 2 – Form a solid base
Roll a ball of clay slightly larger than the one used for the trinket dish, then press it into a thick disc about 1–1.5 cm high. Make sure the bottom is flat so the holder sits securely on any surface.
Step 3 – Create the candle well
Press the candle (or its metal cup, in the case of a tea light) gently into the center of the clay disc to create a hollow. Wiggle it slightly to widen the well, then remove it. The fit should be snug but not tight; you want the candle to sit securely without forcing it.
Step 4 – Smooth and reinforce
Use a damp finger or sponge to smooth the inside of the well and the outer edges of the holder. Pay attention to thin areas — if anything looks fragile, gently add a bit more clay and blend it in. Stability matters, especially with open flame.
Step 5 – Dry, sand, and finish
Let the holder dry completely, then sand any rough spots. Paint in a soft, natural tone that complements your other clay pieces and nearby décor: warm white, stone, or light mushroom shades work well. Always use candles responsibly and never leave them unattended.
A clay candle holder adds a small ritual to your evenings: placing the candle, lighting it, and watching the flame move against the matte, handmade surface.
Project 3: Textured Clay Tiles for Shelves and Surfaces
If you enjoy playing with pattern, textured clay tiles are an elegant way to add interest without clutter. They can act as coasters, small display bases, or quiet decorative accents under objects you already love.
Step 1 – Roll a slab
Take a larger piece of clay and roll it into a flat slab about 4–6 mm thick. Aim for relatively even thickness to avoid weak points.
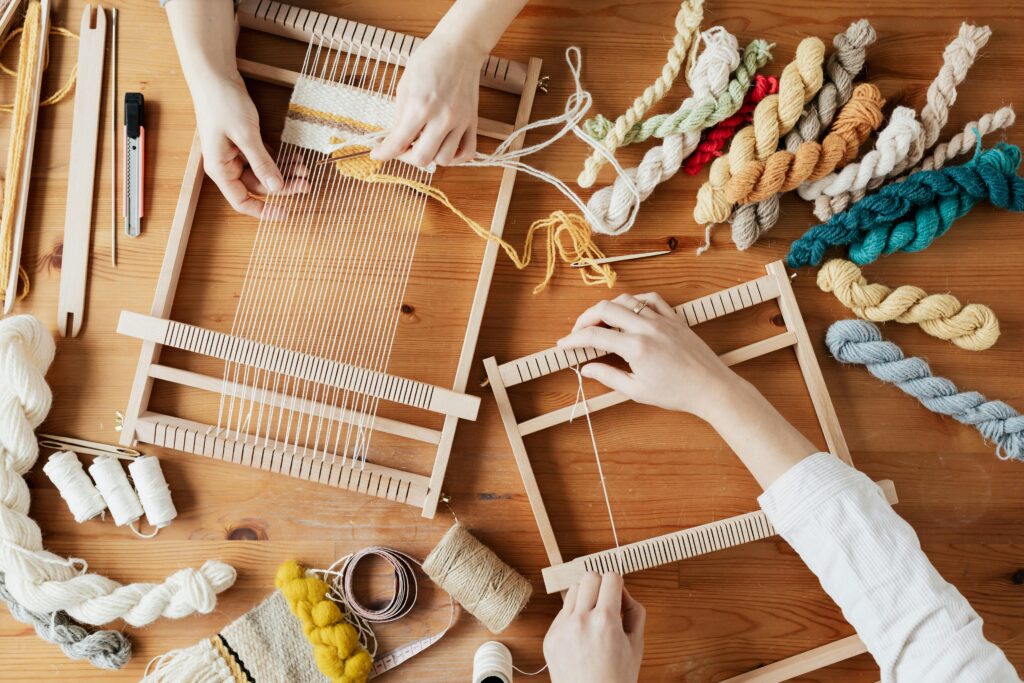
Step 2 – Add texture with natural materials
Press soft, textured materials into the surface: a piece of linen, a jute placemat, dried leaves, or woven fabric. Press firmly, then lift slowly to reveal the imprints. You can experiment with different textures on different parts of the slab.
Step 3 – Cut into tiles
Use a knife to cut the slab into squares or rectangles. They don’t need to be perfectly uniform. Slightly irregular edges feel more honest and handmade. Smooth the edges lightly with a damp finger.
Step 4 – Dry and refine
Dry the tiles completely, then sand the back and edges. To emphasize the texture, you can brush on a very diluted layer of paint, letting it settle into the grooves and wiping off any excess from raised areas.
Step 5 – Use them to anchor objects
Place a tile under a small vase, a candle holder, or a diffuser. On a shelf, two or three tiles grouped together create a subtle “platform” where you can arrange a few selected objects. Instead of filling the entire shelf, you define one small, calm zone and let the rest remain open.
Bringing Your Clay Pieces into a Calm, Minimal Home
Handmade clay pieces are most powerful when they feel integrated, not random. The key is to think in terms of moments, not “decorations everywhere”.
A few simple principles help:
- One small scene per surface is enough. A bedside table might hold your trinket dish, a lamp, and a book. A shelf might have one textured tile and a single vase. Let each surface have a clear purpose.
- Repeat materials across the room. If you introduce clay in one corner, echo it in another. One piece on the console, one on a shelf, one on a nightstand. Repetition creates quiet cohesion.
- Layer clay with textiles and light. Clay + linen + jute + warm light is a reliable formula. A handmade dish beside a natural lampshade, on top of a cloth runner, communicates “soft, grounded, lived-in”.
- Leave empty space. Calm doesn’t come from objects alone; it comes from what you choose not to place. Let shelves, tabletops, and corners have room for the eye to rest.
When you see your clay pieces in this way, they become more than small projects. They become reminders that your home is allowed to be slower, softer, and shaped by your hands over time.
Explore Shop The Look
If you’d like to build more of this atmosphere around your clay creations, you can pair them with décor that shares the same language: natural fibers, warm neutrals, soft light, and simple forms.
In the Shop The Look section, you’ll find curated pieces that work beautifully alongside handmade clay: calm lighting, minimal décor, and tactile accents that support, rather than overpower, your projects